Shrinkage Porosity Defect
Defects
Shrinkage porosity
Cause
Cast metal takes up less space when solid than when liquid. This creates spaces (porosity) in the casting, especially in hot spots.
Corrections
- Increase pressure on the semi-solid metal at the porosity location during solidification.
- Check static metal pressure: Ensure that the static metal pressure is at least 3000 psi for aluminum and magnesium, and 2000 psi for zinc (1500 psi may be acceptable).
- Check intensifier pressure: Ensure that the intensifier pressure produces a final metal pressure of at least 8000 psi (6000 psi may be acceptable).
- Check intensifier settings: Verify the pressures using a monitor system trace. Ensure that the intensifier accumulator is charged correctly and that the intensifier cylinder is not bottoming out. Check the rise time on the monitor and set a desired standard. Ensure that the intensifier is coming in fast enough and check the switch settings. Verify that the shot accumulator pre-charge pressure is correct.
- Check for plunger problems that reduce pressure: Look for poor tip condition (even if there is no blow-by), poor sleeve condition, soldering at the end of the sleeve, sleeve contraction from heat (sleeve squeezed by die), plunger cooling not working, inadequate lubrication, poor sleeve cooling, hot chamber (check plunger rings), or hot chamber (if plunger bottoms and rings are good, change gooseneck).
- Feed additional metal to the trouble spot.
- Consider using squeeze pins.
- Consider using squeeze pins.
- Consider making the wall thicker between the gate and the trouble spot.
- Thin the biscuit, or reduce the variation in biscuit size.
- Check the temperature difference between the site of porosity and the surrounding area.
- Heat up surrounding cold spots.
- Cool the hot spot (location of porosity).
- Check for a temperature difference between the die halves.
- Lower the injection temperature, but be careful not to cause other problems.
- Check the alloy constituents (silicon, iron).
- Check for metal temperature fluctuations (watch for large swings, temperatures must be stable).

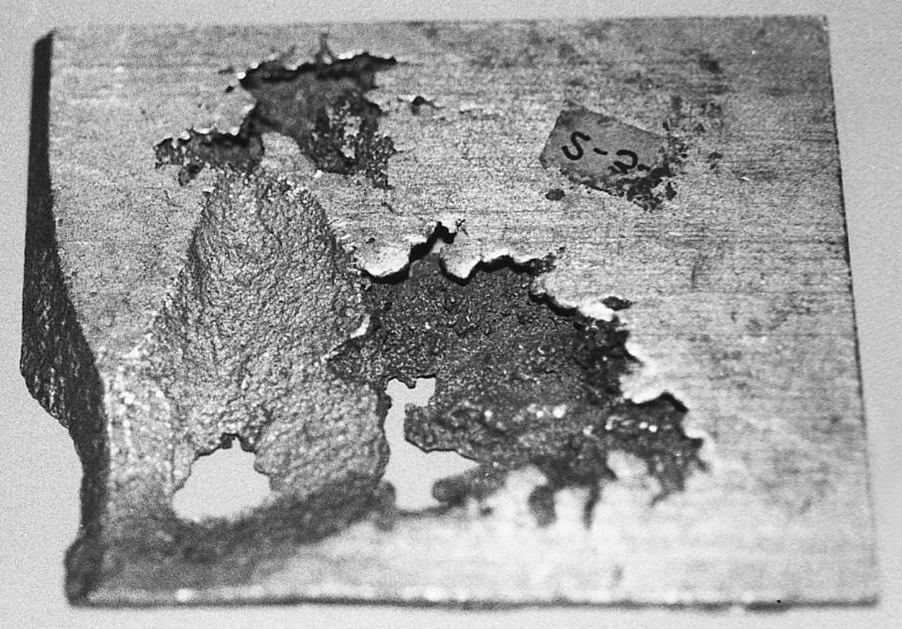
Typical shrink porosity shape shown here in a sand casting because the large porosity here shows the structure clearly (1X).

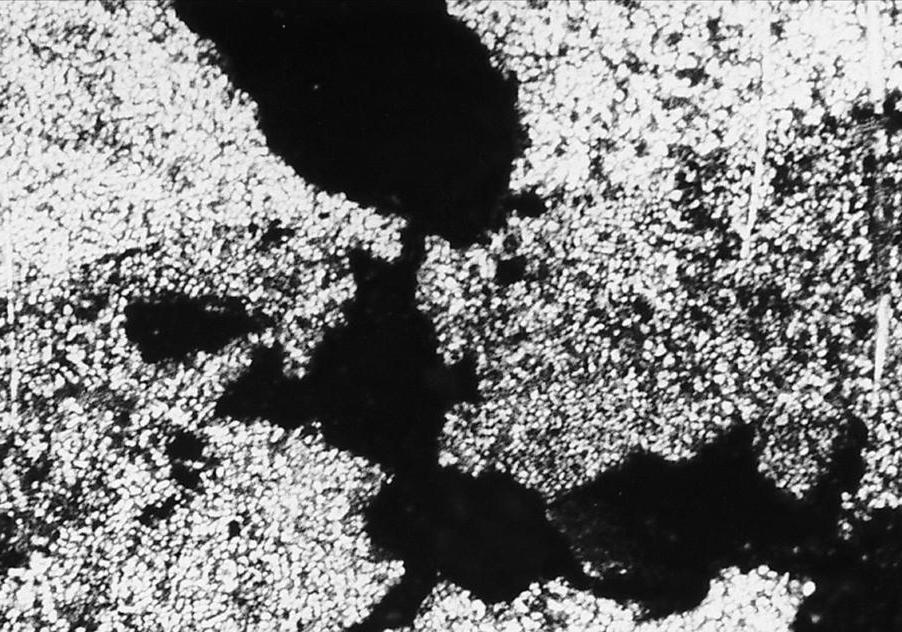
Typical shrink porosity in a die casting. The dendritic structure along the edge of the porosity is barely visible (50X).

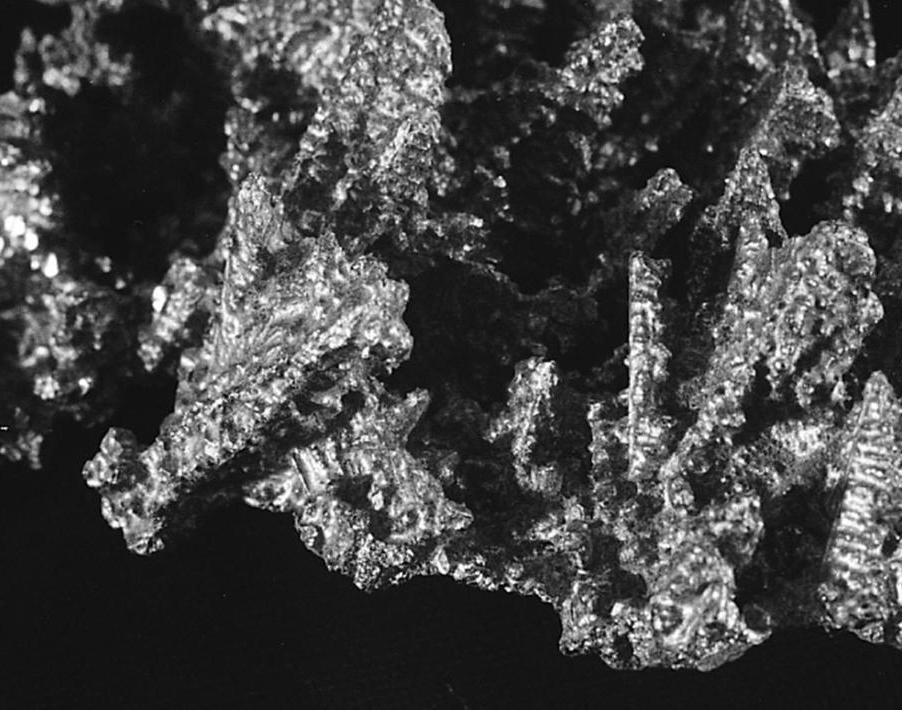
Dendritic primary aluminum crystals which formed during solidification of 380 alloy. These unusually large crystals were formed in a partially filled ladle that was left sitting in the dip well of a furnace. The temperature did not fall below the solidus

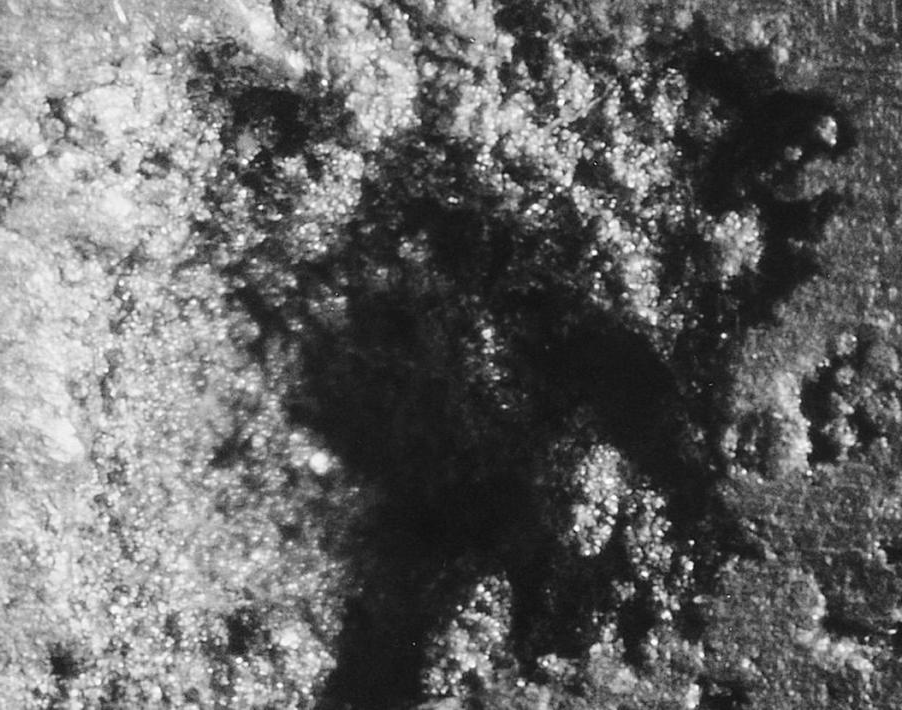
This photograph shows the rough dendritic structure on the wall of most shrink porosity (20X).
Please note that the information provided in this article is intended to be a general guide to the causes and corrections of shrinkage porosity in metal castings. However, it is important to note that the specific cause and correction of any particular defect will vary depending on the specific casting process, alloy, and other factors. Therefore, it is important to consult with an experienced and professional engineer to ensure that the correct diagnosis is made and the most suitable correction is chosen.